
Today I moved around everything in my garden. I got several new pots for this season crop so I'm trying to make more efficient use of my little garden space. One of the projects I wanted to do to accomplish this was changing my mints to a new pot. Their current one is very wide, which is great for the plants, because they have space to spread and give more branches, but no so good for me because I have way more leafs than I need and the pots take too much space.
So, I decided to move them, and I got a very nice wooden pot, perfect size to fit both and just the right depth. But, there is one problem, mints spread very aggressively, they compete with everything around them, including each other. This means that if I simply put both plants on the same container over time I might end up with only one, the strongest one.
To prevent this I needed to make a division that would keep each mint on their side of the pot. I used a old plastic folder and used a very simple procedure.
Here is how I did it
Materials needed
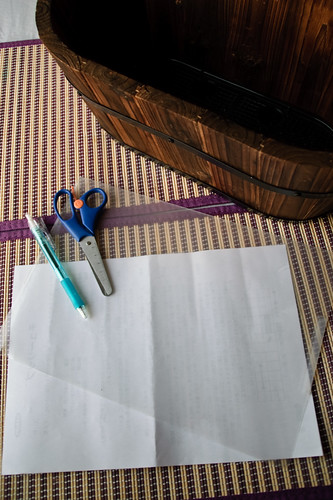
A very simple project to divide your container
- The container you want to divide
- Recycled paper
- Rigid plastic sheet
- Scissors
- Something to write with (a pen, marker, etc.)
- Scotch tape (or similar)
Step 1: Decide how you want to make the division
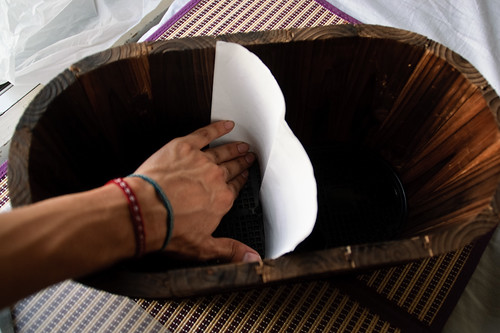
Plan how to divide
Depending on your plants, you will need to decide how you want to separate them. You must determine if one requires more space to grow, if you want an asymmetric layout or if you are setting multiple divisions. For this part you can use the paper sheet and work around how you want it to be at the end. In my case I wanted a single middle division to give each plant equal space.
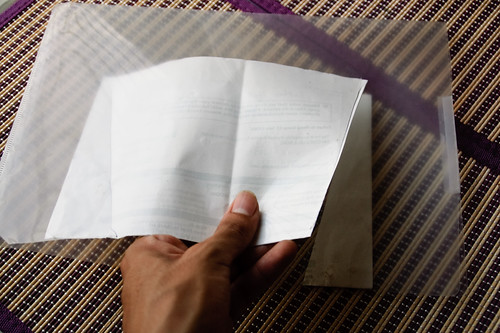
Step 2: Mark the shape
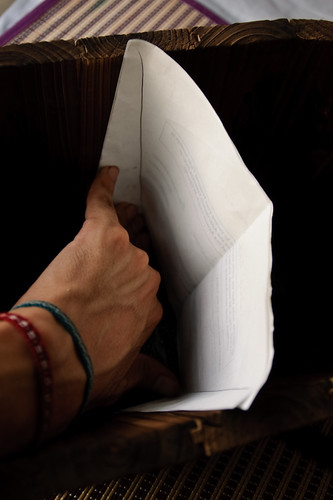
Mark the borders
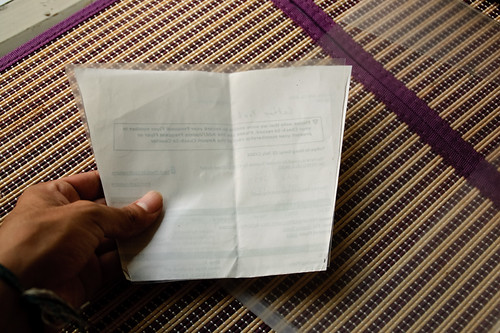
Once I have decided how I want the division. I just set the paper in that position and stretch it very good to make it fit exactly, then I mark where it meets the sides of the pot, this will give you a mold of the shape you need.
You get a paper mold
You can also make folds to mark the position, but is much easier to use a pen, also you can do it directly with the plastic, but if it is too rigid, you will have problems setting it into place.
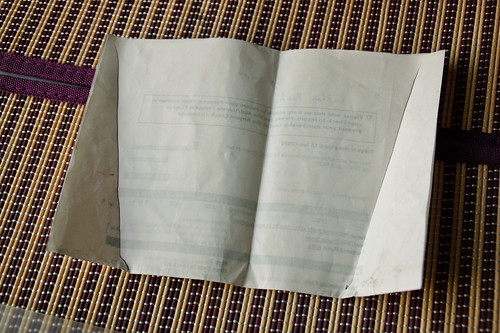
Step 3: Cut the plastic
Cut the plastic using the paper mold
Using the paper as a mold cut the shape you need, then fit the plastic in the pot, if there is any irregularity correct with the scissors or cut a new plastic.
Test if it fits and trim any excess
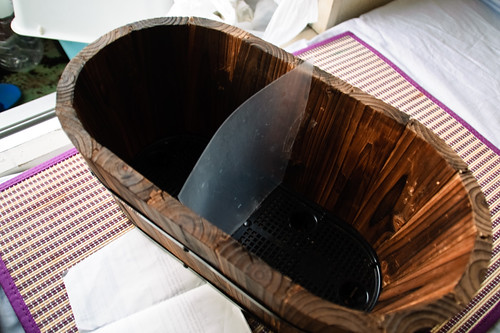
Step 4: Set the plastic in place

Set in the pot
Once the plastic fits nicely in the right position secure with some tape, if you want to assure none cross you can use extra tape to fill any gaps.

Fix it into place
Step 5: Fill with soil and put the plants in
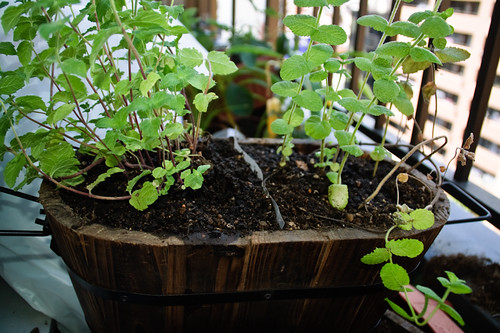
You are done!
Once the division is put you are done! You can just set your plants into place and they will each stay on their side (although, you can check now and then in case one manages to cross)
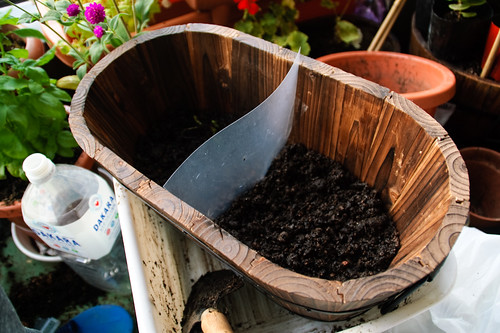
You can have a diferent type of soil on each side
This is very simple project and can be done in a couple minutes. I hope it helps you to manage your unruly plants.


That's a really great idea, actually!
ReplyDeleteI don't think I could have come up with a better idea. Mint are such aggressive plants!
ReplyDeleteThank you! Is a very simple project but I think it works, and so far the mints seem to be doing great.
ReplyDeleteThanks for sharing this tip. I have grown some mints in my garden too. They crawl all over the place.
ReplyDelete